Project 1: Package Notipi
I’ll start this post off by apologizing for the title
On GitHub, I called the project package_notify, but I felt a pun was a great way to start off the second post on my blog, as well as hurt my search index, so welcome to Project 1: Package Notipi.
How’s it going? It’s been what, a whole 2 days since my last post? It feels like longer to me, though maybe that’s because when I posted the last entry it was more late evening than early morning for me.
Even more ironically is that I’m starting this blog post the day before posting it because I’ve already made a lot of progress on the project and feel like blogging about it while its still fresh in my mind.
So, what is this project?
Awesome question, I’m glad you asked.
Package Notipi is a neat bit of software/hardware I built to alert me when a new package arrives for me at my dorm. The school provides a need system (called “Housenet”) that alerts students via email when a package arrives for them. The student then travels to the front desk of their dorm and signs the package out, verifying that they’ve received it.
This sounds like a super neat system that has no design flaws and is super simple. Why would you change it?
Another great question. I shall answer this in the form of another question.
Have you ever read an email on your phone, then immediately forgotten that you’ve read it? Or perhaps you attempt to remember in the hopes that you respond while in a better situation (i.e. at your desk on your computer) and then forgotten to follow up.
I have. (Sorry)
Despite my most noble attempts to follow up on emails and personal contacts, I will occasionally leave an email in my inbox, read but not responded to, and not look at it again until I happen upon it whilst performing routine maintenance.
This tragedy occasionally occurs with Housenet emails concerning packages I’ve yet to pick up.
If you’re confused as to how this is a problem, note that I order a lot of stuff online.
My primary source of “things”, for lack of a better word, is Amazon and the internet.
I don’t like to forget packages at the front desk, but I’m not always situated to carry them back to my room. Many people may relate to my experiences returning from the dining hall or class with hands full of objects. I like to fill a nice insulated cup with soda from the dining hall because I don’t have a mini-fridge in my room and my only source of sufficiently cooled beverages is the fountain in aforementioned dining hall.
So, in conclusion, I built this thing (which I’ve managed to avoid describing for the entire blog post so far) to notify me in a potentially annoying way of packages waiting for my deliverance.
Time to actually tell you what the project is!
Package Notipi is an application running on my Raspberry Pi 3, which is connected to a LED strip, that receives web requests to a particular address and port describing either a new package arriving or an arrived package being released, then proceeds to alert me of the packages’ waiting statuses via annoying LEDs shining in my window.
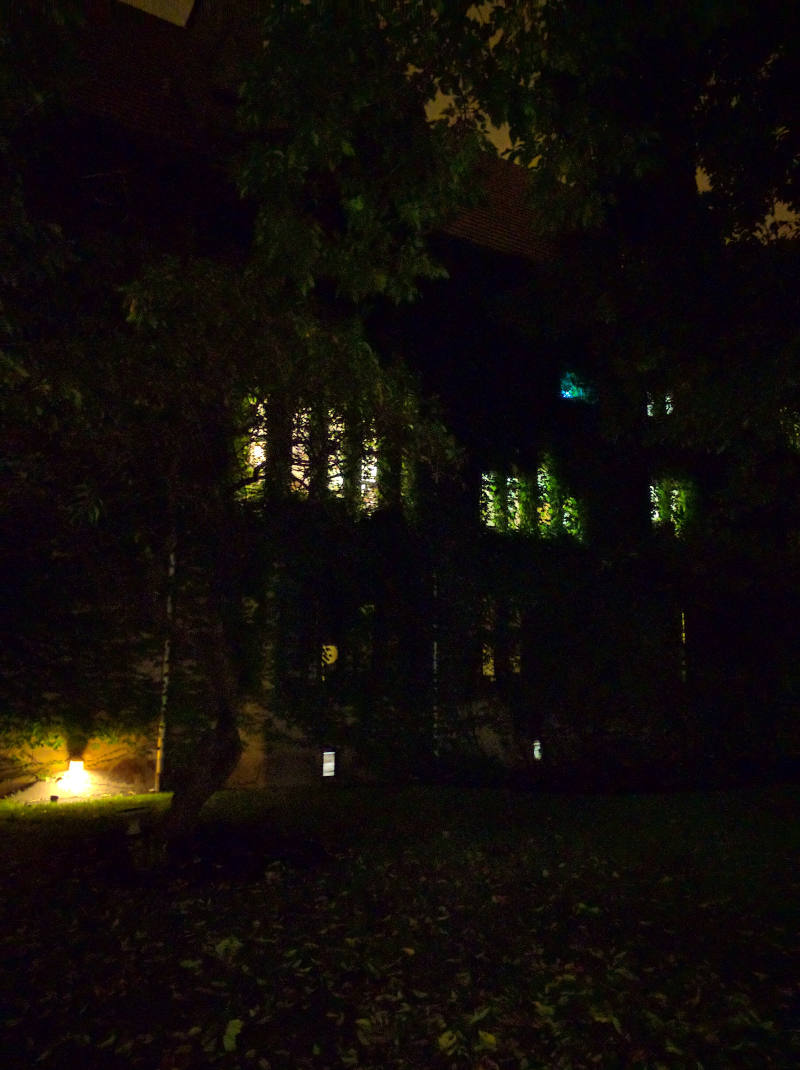
The idea was to come up with a notification system that can be seen whilst walking from the front desk to my room, as well as from inside my room.
The system has a few levels of severity.
- 0 Pending Packages - The LEDs are dark.
- 1 Pending Package - The LEDs are lit yellow.
- 2 Pending Packages - The LEDs are lit orange.
- 3 Pending Packages - The LEDs are lit red.
- 4+ Pending Packages - The LEDs are lit purple.
This notification system should help me remember to pick up packages, as well as give my room some more color.
Awesome, how did you do it?
Well, that one might take a bit longer to answer.
Raspberry Pis have something awesome built into them called GPIO or General Purpose Input Output pins. These pins allow a user, such as myself, to interface with the outside world.
Broken down, they basically extend my Pi so I can send binary (on or off) signals out of the board programatically.
This is super useful in situations where someone might want to, I don’t know, turn a strip of lights on and off or cycle around colors.
In my particular application, I’m using LED strips with MOSFET transistors, which are simple transistors that allow me to hook up a bunch of current to them, then switch them on or off easily with a small impulse from my GPIO pins.
LEDs are controlled using a technology called PWM or Pulse Width Modulation. This is a technique that consists of rapidly flicking the power to the individual RGB (Red, Green, and Blue) channels, causing different levels of brightness in each channel.
A higher PWM value (which ranges from 0-255) means that for every PWM cycle (a period of at least 120 Hz for most lighting applications) the pulse is active for a larger proportion of the cycle time.
For example, a PWM value of 255 translates to a pulse that is constantly on throughout the entire cycle, where a PWM value of 127 (1/2 the way to 255 if you start at 0) translates to a pulse that lasts for the first 50% of the cycle.
For a LED strip, the proportion of the pulse width to the duty cycle length is equal to the brightness in that channel. Meaning a PWM value of 255 on the Green channel and a PWM value of 127 on the BLue channel leads to a light green hue.
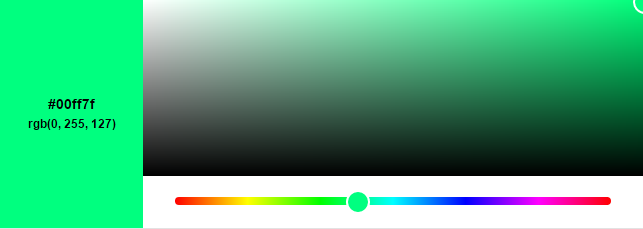
By experimenting with some different RGB values, I’ve found nice hues for my previously specified severity levels.
My python code that describes the hues can be seen here in package_notify.py
Hey, future Eric here, if you’re wondering why the colors below don’t match up to what I may have said, it’s because the colors I tried didn’t show up very well and I had to change to more contrasting colors, and even then, they didn’t work too well.
import pigpio

pi = pigpio.pi()
pin = {
    'red': 17,
    'green': 22,
    'blue': 24
}
def set_color(color):
    if color == "yellow":
        set_leds(255, 255, 0)
        return
    elif color == "orange":
        set_leds(244, 160, 0)
        return
    elif color == "red":
        set_leds(255, 0, 0)
        return
    elif color == "purple":
        set_leds(165, 0, 255)
        return
    elif color == "black":
        set_leds(0, 0, 0)
        return
    return

def set_leds(r, g, b):
    pi.set_PWM_dutycycle(pin['red'], r)
    pi.set_PWM_dutycycle(pin['green'], g)
    pi.set_PWM_dutycycle(pin['blue'], b)
Here, the set_color function maps a String containing the color name to an RGB value, then calls the set_leds function to send the PWM pulses using the pigpio python library.
I’ve mapped the pin dictionary object to the pins I used for red, green, and blue channels on the Raspberry Pi.
The Webserver
The webserver element of the project is fairly straightforward and boring.
I set up a simple http request handler called TestHTTPServer_RequestHandler and use it to modify the current tally of packages as well as trigger set_color depending on the circumstances.
from http.server import BaseHTTPRequestHandler, HTTPServer

# HTTPRequestHandler class
class TestHTTPServer_RequestHandler(BaseHTTPRequestHandler):

    # GET
    def do_GET(self):

        global pending_package_count
        # Return inits
        message = "That was an invalid request!"
        response_code = 404

        path = self.path[1::]

        if path == "":
            print("Checking the package queue.")
            response_code = 200
            message = "Pending Packages: " + str(pending_package_count)

        if path == "released_package":
            print("Package was released!\n")
            response_code = 200
            pending_package_count -= 1
            message =
                "Package was released!<br>Total pending packages: "
                + str(pending_package_count)
            if pending_package_count == 1:
                set_color("red")
            elif pending_package_count == 2:
                set_color("blue")
            elif pending_package_count == 3:
                set_color("green")
            elif pending_package_count > 3:
                set_color("purple")
            elif pending_package_count <= 0:
                set_color("black")

        elif path == "new_package":
            print("New package was received!\n")
            response_code = 200
            pending_package_count += 1
            message =
                "New package was received!<br>Total pending packages: "
                + str(pending_package_count)
            if pending_package_count == 1:
                set_color("red")
            elif pending_package_count == 2:
                set_color("blue")
            elif pending_package_count == 3:
                set_color("green")
            elif pending_package_count > 0:
                set_color("purple")

        self.send_response(response_code)
        self.send_header('Content-type', 'text/html')
        self.end_headers()
        # Write content as utf-8 data
        self.wfile.write(bytes(message, "utf8"))
        return
Essentially, I read the path of the request looking for 3 possible paths: released_package, new_package, and / or an empty path.
A GET request to either of the first two paths will trigger an increment or decrement to the pending_package_count tally and call set_color accordingly.
The third path functions as a debugging path where I can check the current queue manually.
The Email Part
I totally forgot to explain how I was getting the emails from Housenet to turn into web requests to my pi. Oops. With the help of an awesome web service known as IFTTT (If This, Then That), I linked my university email account to my IFTTT account, allowing IFTTT to read my inbox (but only when I want it to).
I set up gmail filters in my inbox that apply labels to Housenet emails depending on what the content of their subject lines are. All the “New Package” emails contain the String “New Package” in the subject line, and all the “Package Released” emails contain the String “was released” in the subject line.
This allowed me to apply separate filters to the different types of emails. IFTTT conveniently has an IF clause for Gmail that says “If a new email shows up in my inbox with the label _____” then do something.
I created 2 IFTTT actions, one for new packages and one for released packages, that send HTTP Get requests via the IFTTT Maker channel to my firewall. Those requests are then forwarded to my pi and the web server events are triggered.
The Hardware
The hardware implementation for this project was taken from this blog post by Popoklopsi.
I will provide a simple diagram Popoklopsi offered on his blog post.
Note: This image is hosted by Popoklopsi and is not my own creation, if he/she desires for me to take down this link to their image, I will do so gladly.
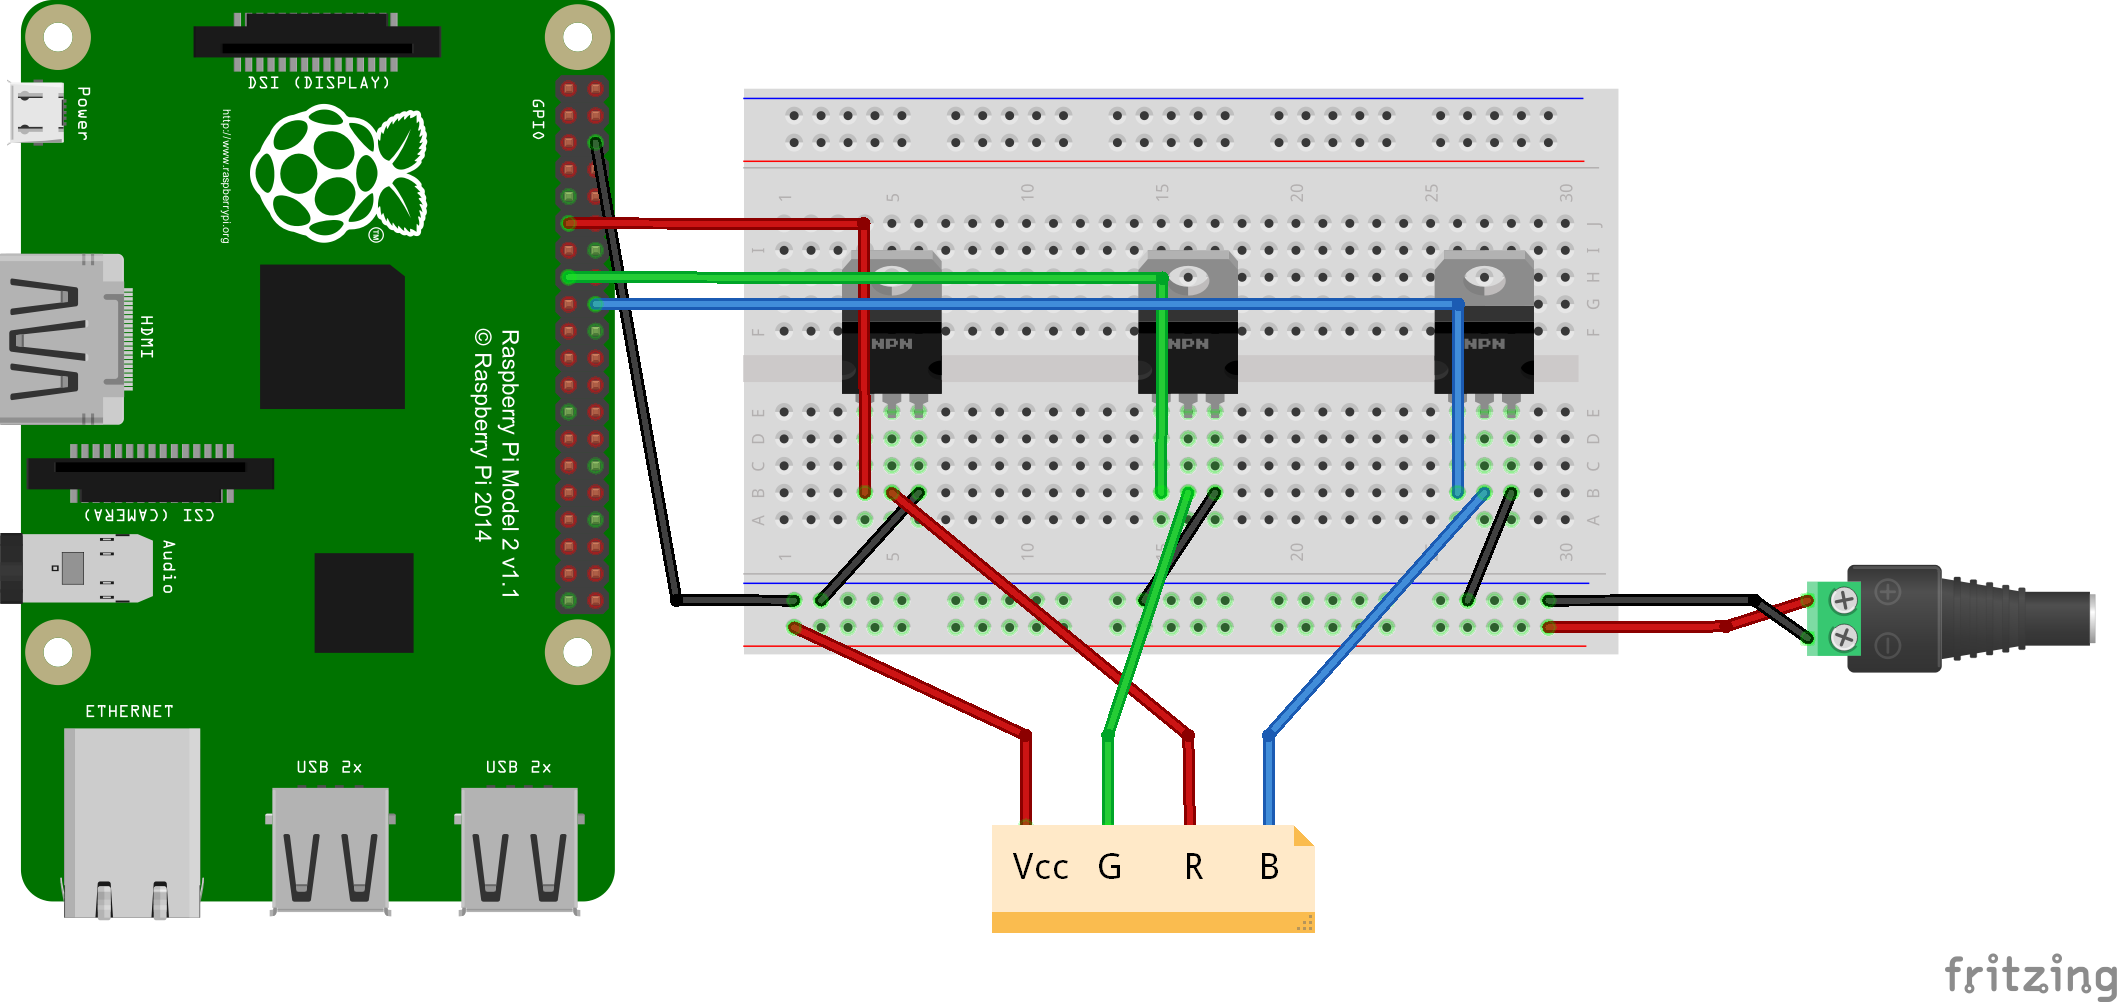
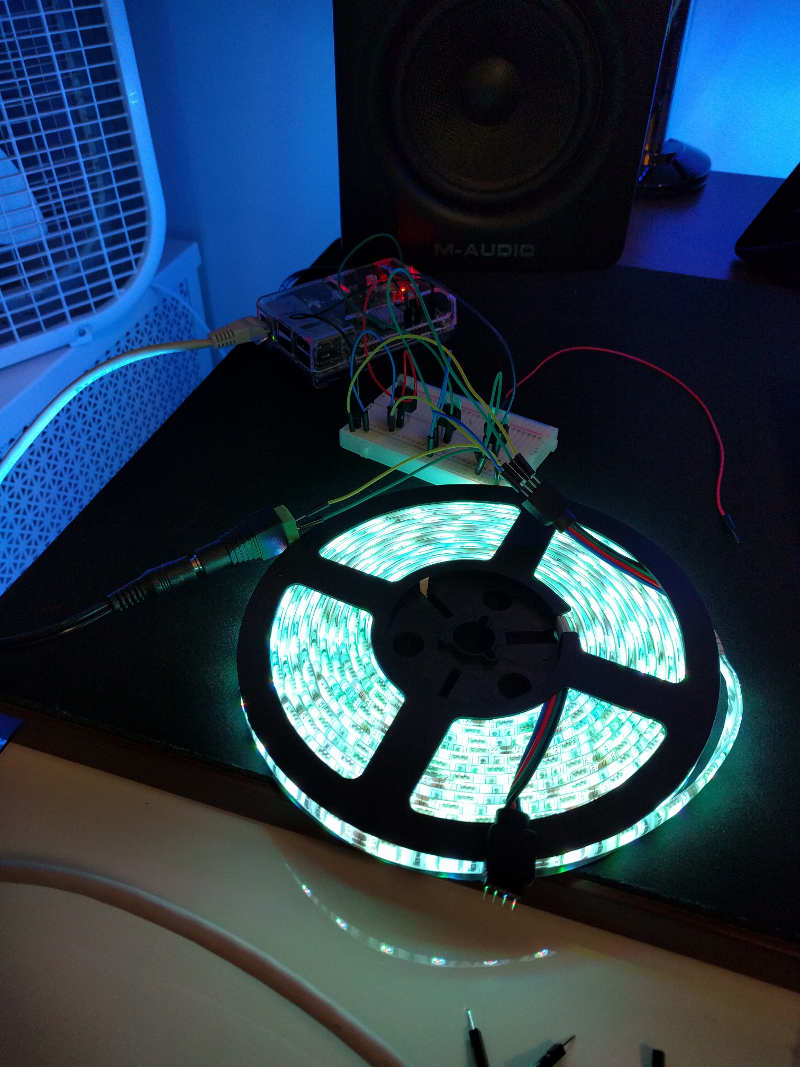
The hardware setup is simple and consists of 3 MOSFETs, a bread board, the Pi, a DC power supply, and the RGB LED strip.
Again if you want to attempt this yourself, please reference Popoklopsi’s blog post.
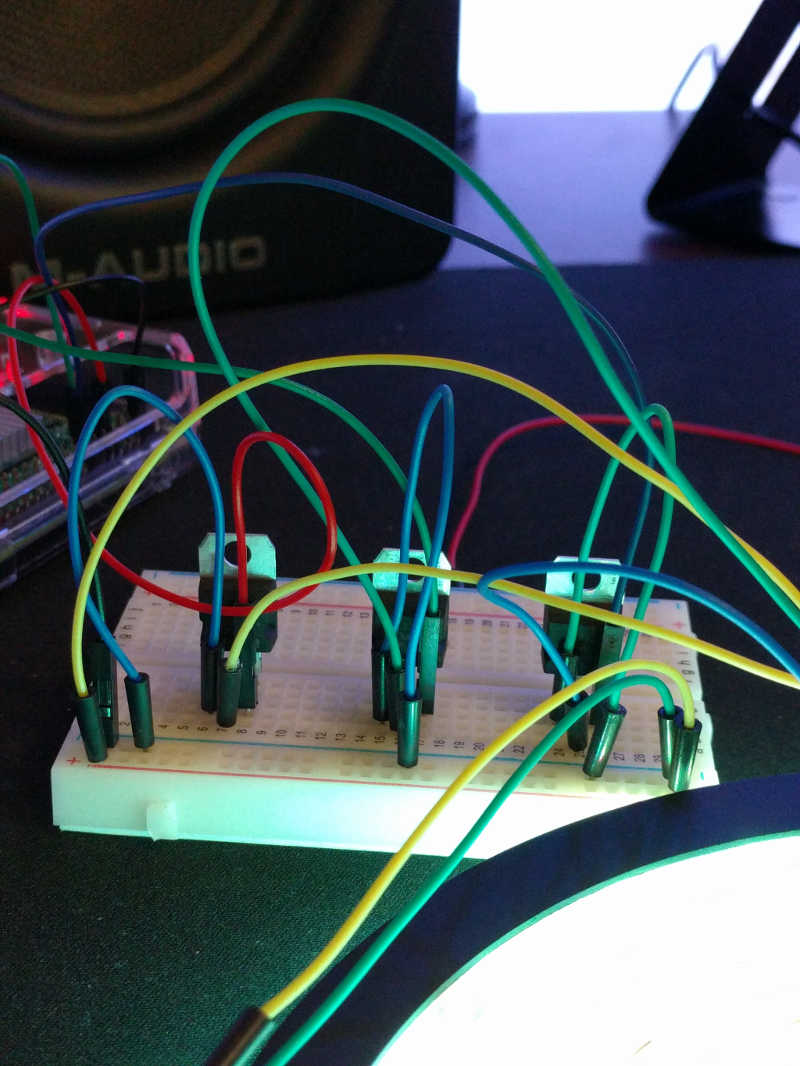
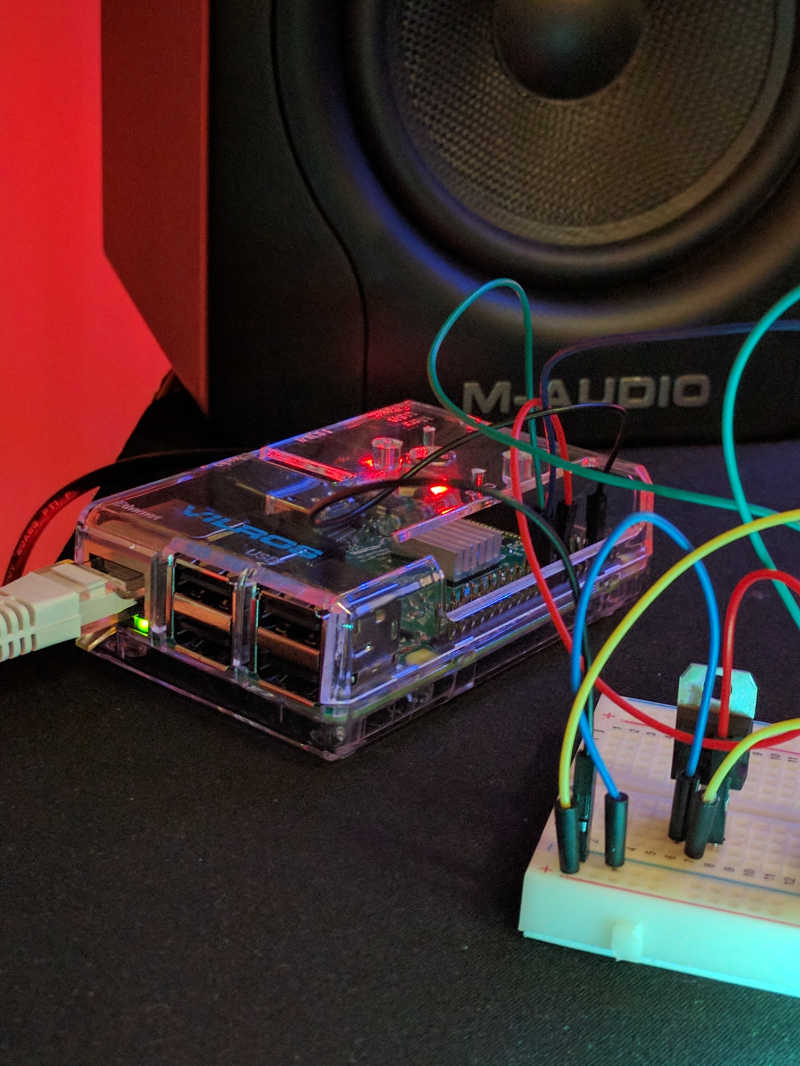
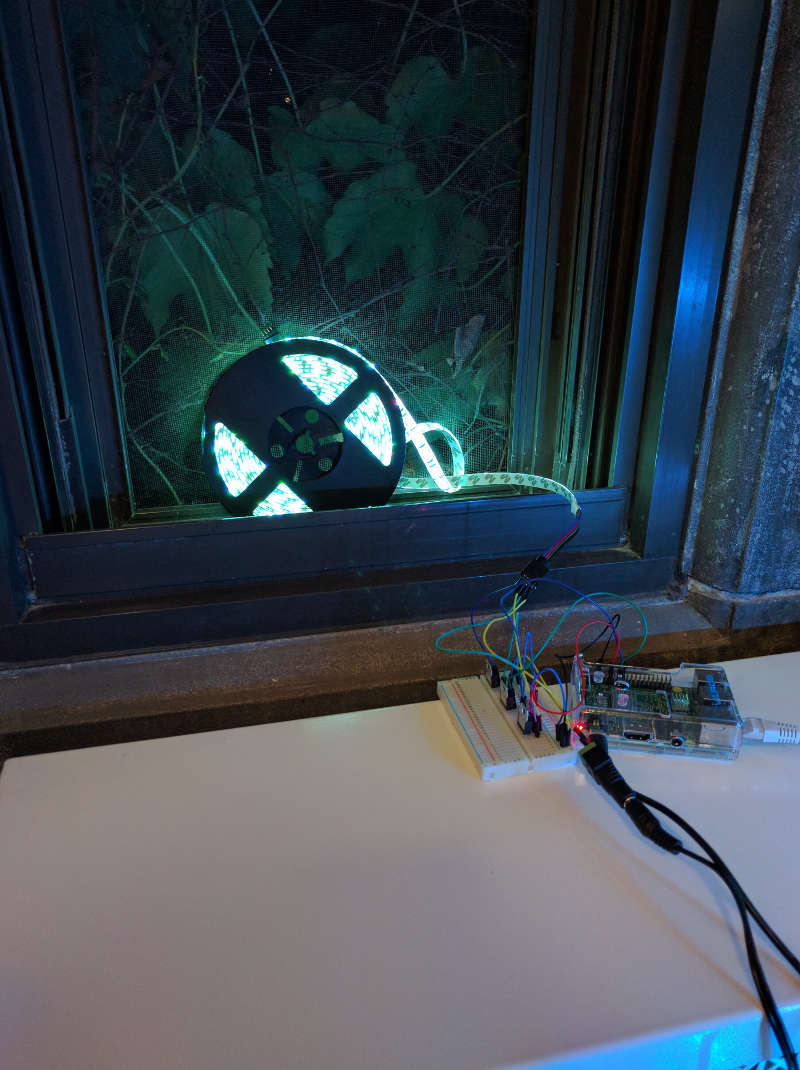
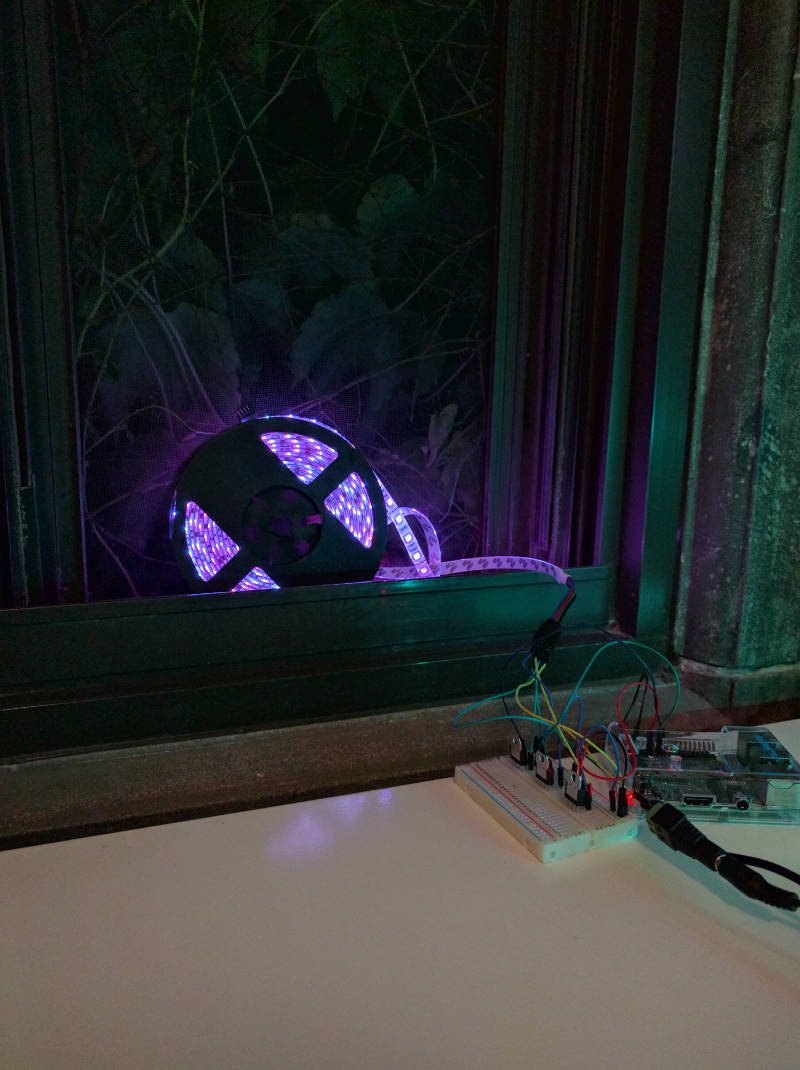
What does the end result look like?
Below, I’ve provided a small photo set of the end result for your viewing pleasure.
Note: I will be working on better galleries using some cool features of Jekyll and yaml/markdown but until then please bear with the blind insertion of images.
If you’d like to view the full resolution images, check here: Google Photos Album . I downscaled and compressed them so the blog page remains under 1 MB.

Conclusion
This was a super fun project, and I’m not just saying that because I’m writing this conclusion before actually working with the hardware element in the project due to my desire to procrastinate homework while at the same time not having received the package containing the rest of the parts I need for the project… That’d be silly. It turned out well, as you will probably be able to see from the photos I post above when I finish the project. I hope to do more projects like this in the future, though this one ran me around $98 all said and done, so it’d be cool if I could find some cheaper things to hack around with.
Update from the day of items arriving: The transistors I got don’t seem to be working as well as I’d hoped, as they let too much voltage pass when in unactivated state, meaning that I am having troubles reproducing colors on the LED strip. The only colors I could really get working were Green and a Teal like Blue. I’m trying to get new transistors that match the ones used in Popoklopsi’s blog, but they won’t be here until next week. I may post an update if it ends up working better then.
That’s all folks, thanks for reading.